
This was another one of our projects that we had very little time
to complete and no money. For the past
year I'd been looking at the walls of our main bathroom knowing I should have
painted in that room years ago. Now that
it is finished I wonder why, like a lot of things, it took me so long to get in
there and get it done. But that is just
how life works sometimes and now that it is complete I'm really happy with the
results. Definitely worth the wait.

The majority of this renovation was focused in two areas. First up was our vanity which I painted with
paint I'd purchased a few years ago when I did the vanity in our downstairs bathroom.
It was a sample of paint I'd purchased for $2.94 along with a box of 8 knobs
I'd bought from Amazon for $10.96 making them a steal at just $1.37 each. They were $3.99 a piece at Home Depot at the
time so a huge savings here.

I installed self adhesive vinyl floor tiles to the bottom of the
cabinet in order to clean it up and make it easier to keep it that way. The tiles were a bargain at just 67¢
each. I bought 8 of them and I still
have one left to use when I do the same thing to the downstairs bathroom
vanity. I used a Home Depot gift card to
pay for the tiles so this vanity upgrade was literally a no cost project.

The next big thing we did in there was to add new trim along the
ceiling and wainscot the wall. I had
used a Visa gift card at Lowes to purchase two contractor's packs of trim and
after completing the master bedroom
I still had one piece left plus a full pack along with some leftover pieces. I purchased five corner trim pieces plus used
three full trim pieces and some leftover pieces to complete the trim along. I used my gift card at Lowes to pay for the
corner trim.

The wainscot wall was completely done with the textured wallpaper
we had leftover after completing our entry way and dining room
renovations. I pulled the chair rail
trim out of my stash in the garage. It
was from the FREE WOOD bin. Wainscoting
the wall was another no cost project.
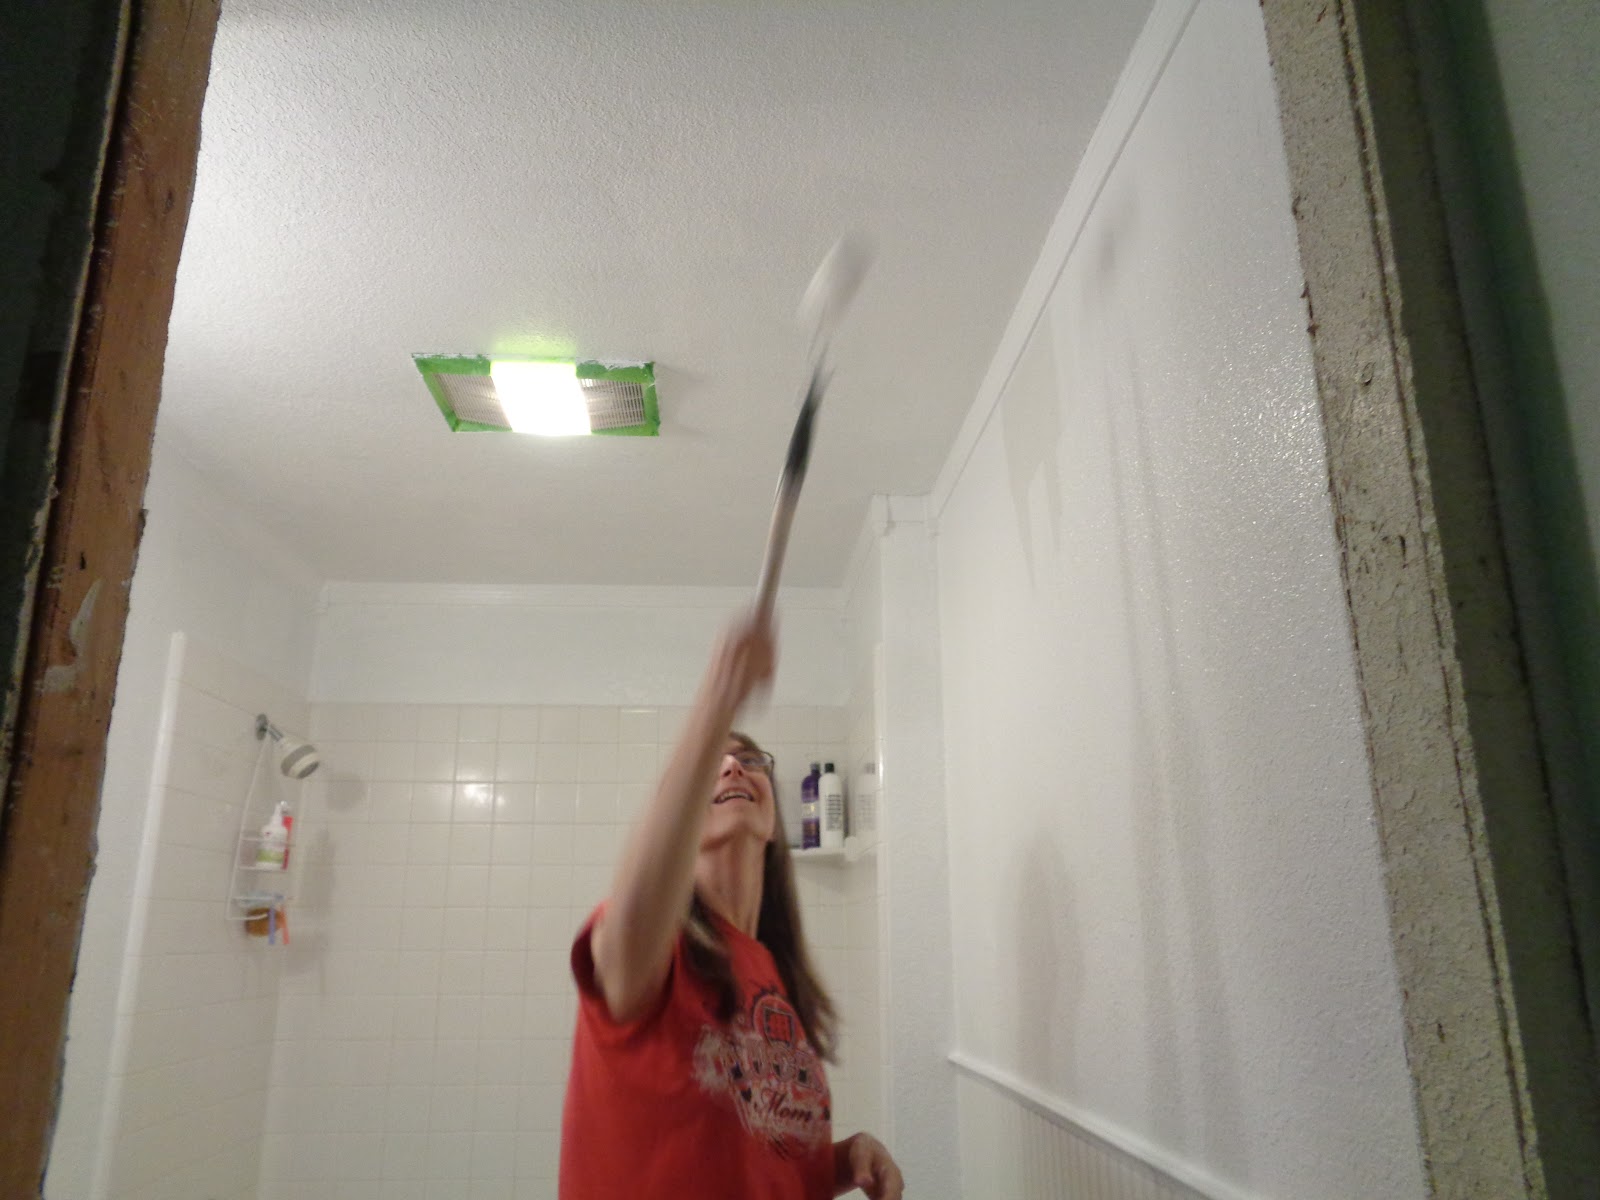
We picked up a gallon of paint at Home Depot and a couple supplies
and gave the walls and ceiling two good coats of paint. The paint was $36.98 and I used a gift card
to cover those expenses as well.

A can of spray paint updated our robe hook, two towel bars and the
toilet paper holder and I bought a new drywall mounting kit to reinstall
them. Again the paint and mounting kit
was purchased with a Home Depot gift card.

Lastly I switched out our old shower head for a new dual spa set
that we absolutely love. This was
definitely a splurge item and I'm really glad I did it. I picked it up at Bed Bath & Beyond on
sale for $39.99 and used a $10 OFF coupon they had sent me in the mail to drop
the price even lower.


I decorated the room with our same towels, shower curtain and bath
mat as well as a few other items from around the house. No additional money spent there and I'm
completely happy with that. I wasn't
feeling the urge to change the decor anyway.
Just freshen things up and make some improvements, which I think I did
quite nicely.

I sure can't complain about the cost to complete this project!

The value of sweat equity. Priceless. Great job keeping those dollars in your bank.
ReplyDeleteThanks Connie. I was amazed at how well we did on this project. Freed up our cash for areas that need a little more TLC.
DeleteWell I'm impressed!
ReplyDeleteWe need to do something about the floor in our main bathroom. The builders did not level the sub-floor and one piece of plywood is higher than the others. It has caused the linoleum to split along the line. Looks like three by four foot rectangle rip in the middle of the floor. Do you think the peel off linoleum would stick to a floor with high traffic? How has yours done under your sinks? Does it stick tight when you put it down?
I don't want to hire someone to rip up the whole floor. I just want to be cheap and cover over the problem.
Jeannie@GetMeToTheCountry
Boy, I sure would try it. Couldn't hurt. They are super sticky and you can always use adhesive if you aren't sure. I'd try to screw down or even plane the uneven area first and then tile over it with the vinyl squares. Nice thing is if it wears out you just pull it up and replace it. Buy a few extras to keep on hand.
DeleteJust read your post to my husband and he said, "We won't know what we will find until we tear into it."
DeleteHe's right. It's always worse than what you imagined, takes longer to do than expected, and costs more than you budgeted.
Sigh.
I think I will tackle something easier and work up more courage.
Jeannie
I should just come over and give you a hand! If I lived closer I totally would. Demolition is the best part!
DeleteI just checked the map. Google says it is only 2,000 miles to my house and you can drive it in 28 hours. Start now and I will have the sledge hammer and breakfast ready when you get here.
DeleteOn my way! You had me at sledge hammer!! LOLOL
DeleteDoesn't it feel fantastic to tackle a project and not have to spend gobs of money? You did great and you are teaching your girls valuable skills.
ReplyDeleteIt feels amazing! I'm so happy about this.
DeleteYou are amazing! It looks great!!!
ReplyDeleteThank you so much. We just love it!
Delete