This forty year old bathroom got a complete makeover back in
1995. New tile tub surround, new floor,
new paint and a new countertop. A few
years later I got up the nerve and painted the vanity nautical blue. Over the years I've decorated with various
colors of towels, shower curtains and rugs as well as all kinds of knick knacky
sorts of things.
 |
| One big blank wall |
 |
| Some holes to fill |
 |
| A couple nail pops to address |
I've long dreamed of adding more architectural details in this
bathroom just like I've done in most of the other rooms in our home. Adding trim just seems to make a world of
difference by taking the plain and ordinary to something much more. The simple addition of some trim makes our
home look richer and more expensive. It
is one of those details that really transforms a space.
 |
| Taking my time to make sure my measurements are correct |
 |
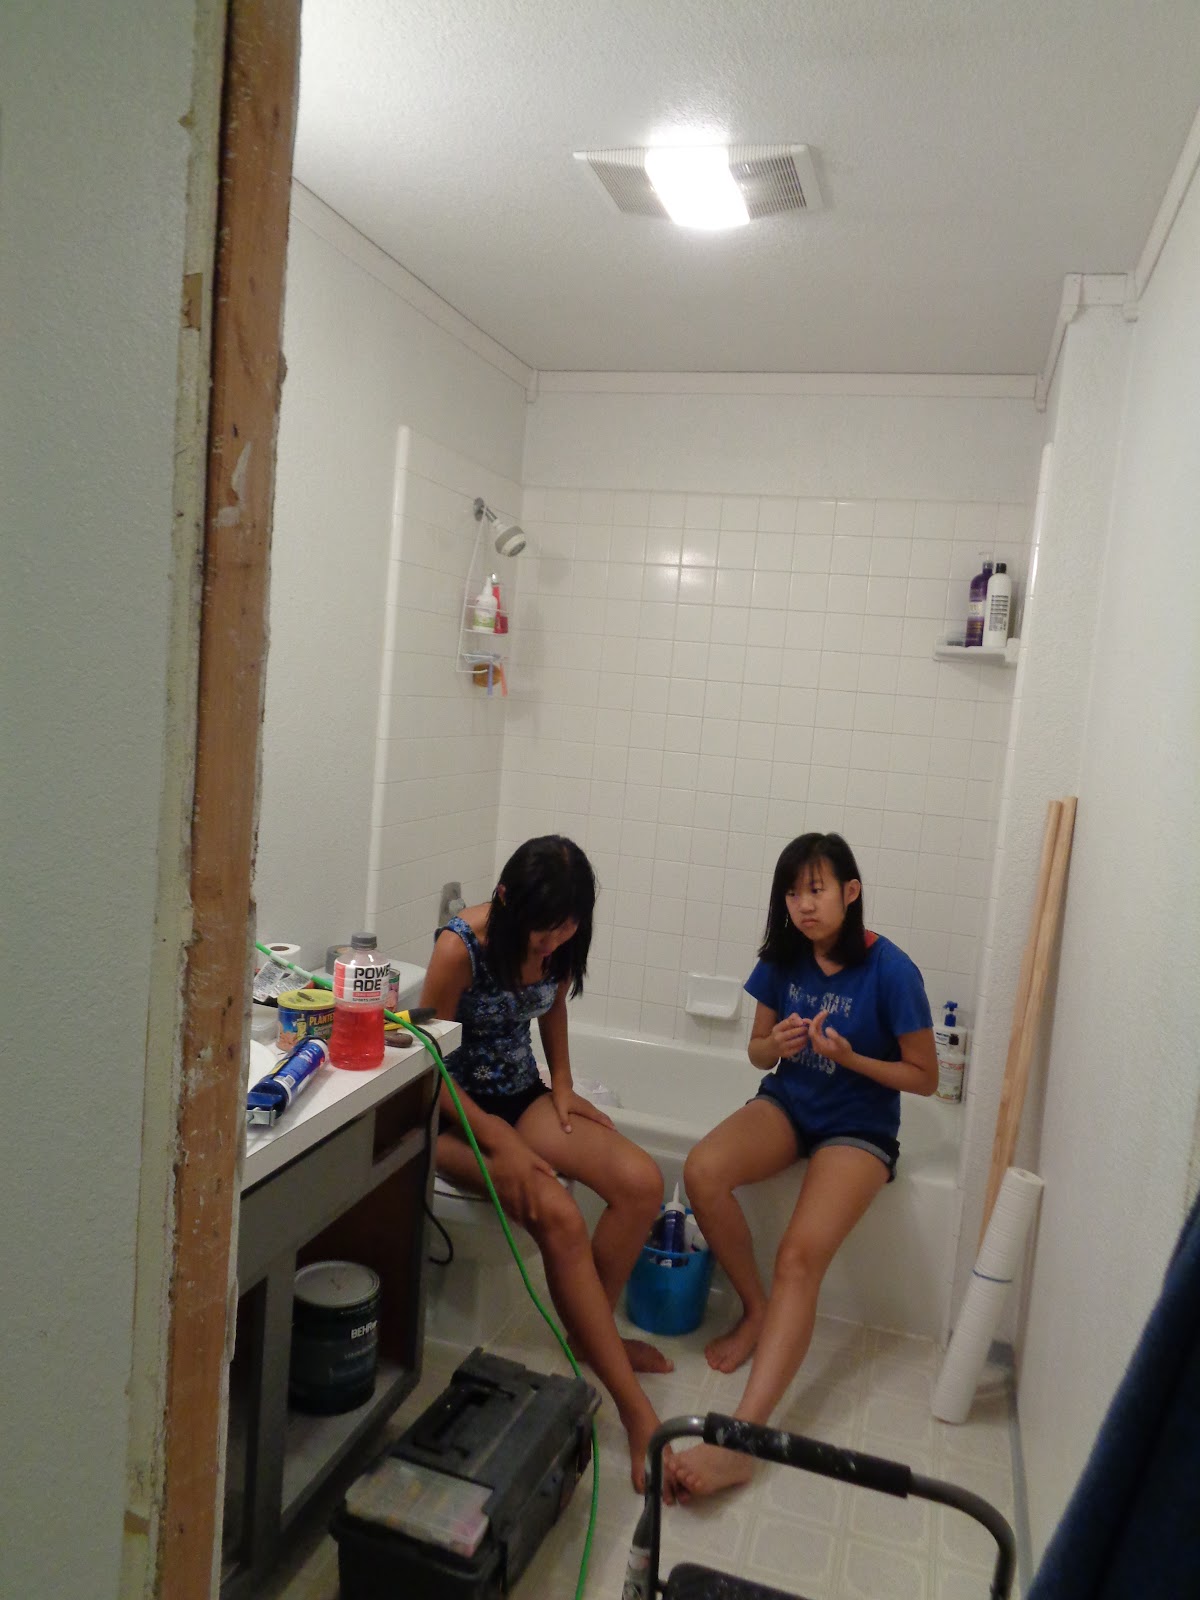
| These girls learned how to install trim |
The bathroom was pretty much a blank slate. The bathroom door and door jamb was the only
demolition required in here. Once that
mess was cleaned up I got busy and put up some trim along the ceiling. I love the decorative trim pieces in the
corners so those were added in here as well.
 |
| Trim is installed |
 |
| Wainscoting going up |
 |
| Install completed |
We had most of a roll of beadboard wallpaper leftover
from our entry way renovation and
even though we used it to update our dining room, which looks amazing, we still had quite a bit left. It was the perfect amount to add a wainscot
wall to our bathroom. I also had enough
trim in the garage for the chair rail. So
we put it up! And wow!
 |
| And then we caulk |
 |
| For a flawless finish |
 |
| Caulk fills in any gaps or unevenness along the ceiling and walls |
The wainscotting really changed the look of this one big blank
wall we had in there giving it a whole new look and adding interest. This room has always been kind of cool and
boring. Now it seems much warmer and
there is plenty for the eye to take in without it being too busy in there.
 |
| And then we paint |
 |
| And paint |
 |
| And paint some more |
I stuck with my usual Pure
White semi gloss paint by Behr. We
discussed colors, looked at colors, but at the end of the day decided that
because the room isn't overly large we'd stick with white and decorate to add
color. Leaving it white does keep it
open and bright, especially as there are no windows in here for any natural
light, and it keeps our options wide open for adding color with decor.
 |
| Taking a break between tasks |
 |
| All done! Phew! We made it! |
 |
| The vanity turned out beautifully! |
The vanity adds a
nice warmth to the room too, so not a complete oasis of white. I think the paint colors we chose all tie
together nicely with each other. Now I
get to put it all back together and that part is super exciting!


I love seeing your home projects! Thank you.
ReplyDeleteThank you Meg! I love sharing them. :)
DeleteThat vanity looks just gorgeous!
ReplyDeleteThank you very much!!
Delete