I noticed that in
the cabinets I was planning to store my dishes in that a shelf had been
removed. The faint outline and remaining
screw holes clued me in and since storage space in an RV is at a premium I was
anxious to replace that. After going
through my scrap wood pile I knew I didn't have a long board to make a shelf
with so a quick trip to Home Depot for a six foot long 1" X 8" pine
board and an extra can of spray paint was required.
 |
| I forgot to take a picture of the dish cupboard once I was finished! Hopefully a pic of my little helper will suffice for now |
I cut the board to
length and then in half so I would be able to get it into the cabinet. I also made new shelf cleats using wood I
already had in my stash - one for each end and one to support the center. Then I painted everything and once it was dry
I installed the cleats and then the shelf boards. To reinforce the center I used finish nails
to tack it in place on the center cleat (I also tacked in place at each end to
so it won't move) and then measured and cut a trim piece to go against the
front edge. Not only to add more
stability to the shelf but to provide a lip to help keep items in place during
transit. I painted the trim and once it
was dry I predrilled holes in to so it wouldn't split when I attached it with
some finish nails.

The cabinets under
the sink are really well laid out with very little wasted space while managing
to accommodate the plumbing and electrical.
Instead of drawers in the kitchen I have pull out bins on slides which I
really like. I took out the bins and
brought them in the house for a good scrubbing with a magic eraser to remove
all of the black utensil marks that had accumulated over the years. That was all it took.

The only improvement
I made under the sink was where I planned to keep my trash can. The carpet only covered half of that space
and caused the can to wobble. I cut a
piece of luan I had leftover from the nightstand project to fit and painted
that brown. Then I set a piece of scrap
wood at the back of the cabinet as a spacer and placed the luan on top of
that. No glue or nails here because it
needs to be removable as there is an access panel at the back of this
space. Just a nice snug fit. Now I have a level and very wipeable surface
to keep my trash can and a cute plastic basket I picked up at the dollar store
to hold my cleaning supplies too.
 |
| I also moved the paper towel dispenser from above the kitchen sink to the cabinet underneath |
The next day, after
allowing the painted surfaces to cure I went in and carefully measured, cut and
lined all of the shelves with rubber gripper shelf liner. I slid the bins back in and had a blast
putting away the kitchen items I had in the camp box and in boxes under the
stairs for the retirement house. The
utensil tray I had already bought was a perfect fit. Meant to be!
 |
| I bought these at the dollar store - too cute!! I'll refill them from the bigger bottles in the house |
This transformation
cost me $7.97 for a pine board and $3.87 for a can of spray paint at Home Depot
plus a couple rolls of shelf liner (taupe) on sale at ShopKo for a total of
$9. I added a trash can and a storage
basket for $1 each from Dollar Tree.
Everything else I used I already had.
Now that is a pretty thrifty makeover if you ask me.
You really do amaze me with all you are able to tackle and make both functional and pretty with such a low outlay of cash!
ReplyDeleteThank you Debbie. It has been so much fun.
DeleteI am impressed with your abilities and stick to it personality. I tend to spend to much time thinking and planning, then have to rush the doing.
ReplyDeleteI can't say that I haven't done that too. ;) Funny though, lately I've become much more methodical about all my projects and I refuse to rush. Seems things turn out much better that way. Huh, go figure...
DeleteHow very clever!! I love the pull out bins too.
ReplyDeleteThanks! The bins set up like this seem to give a lot more storage.
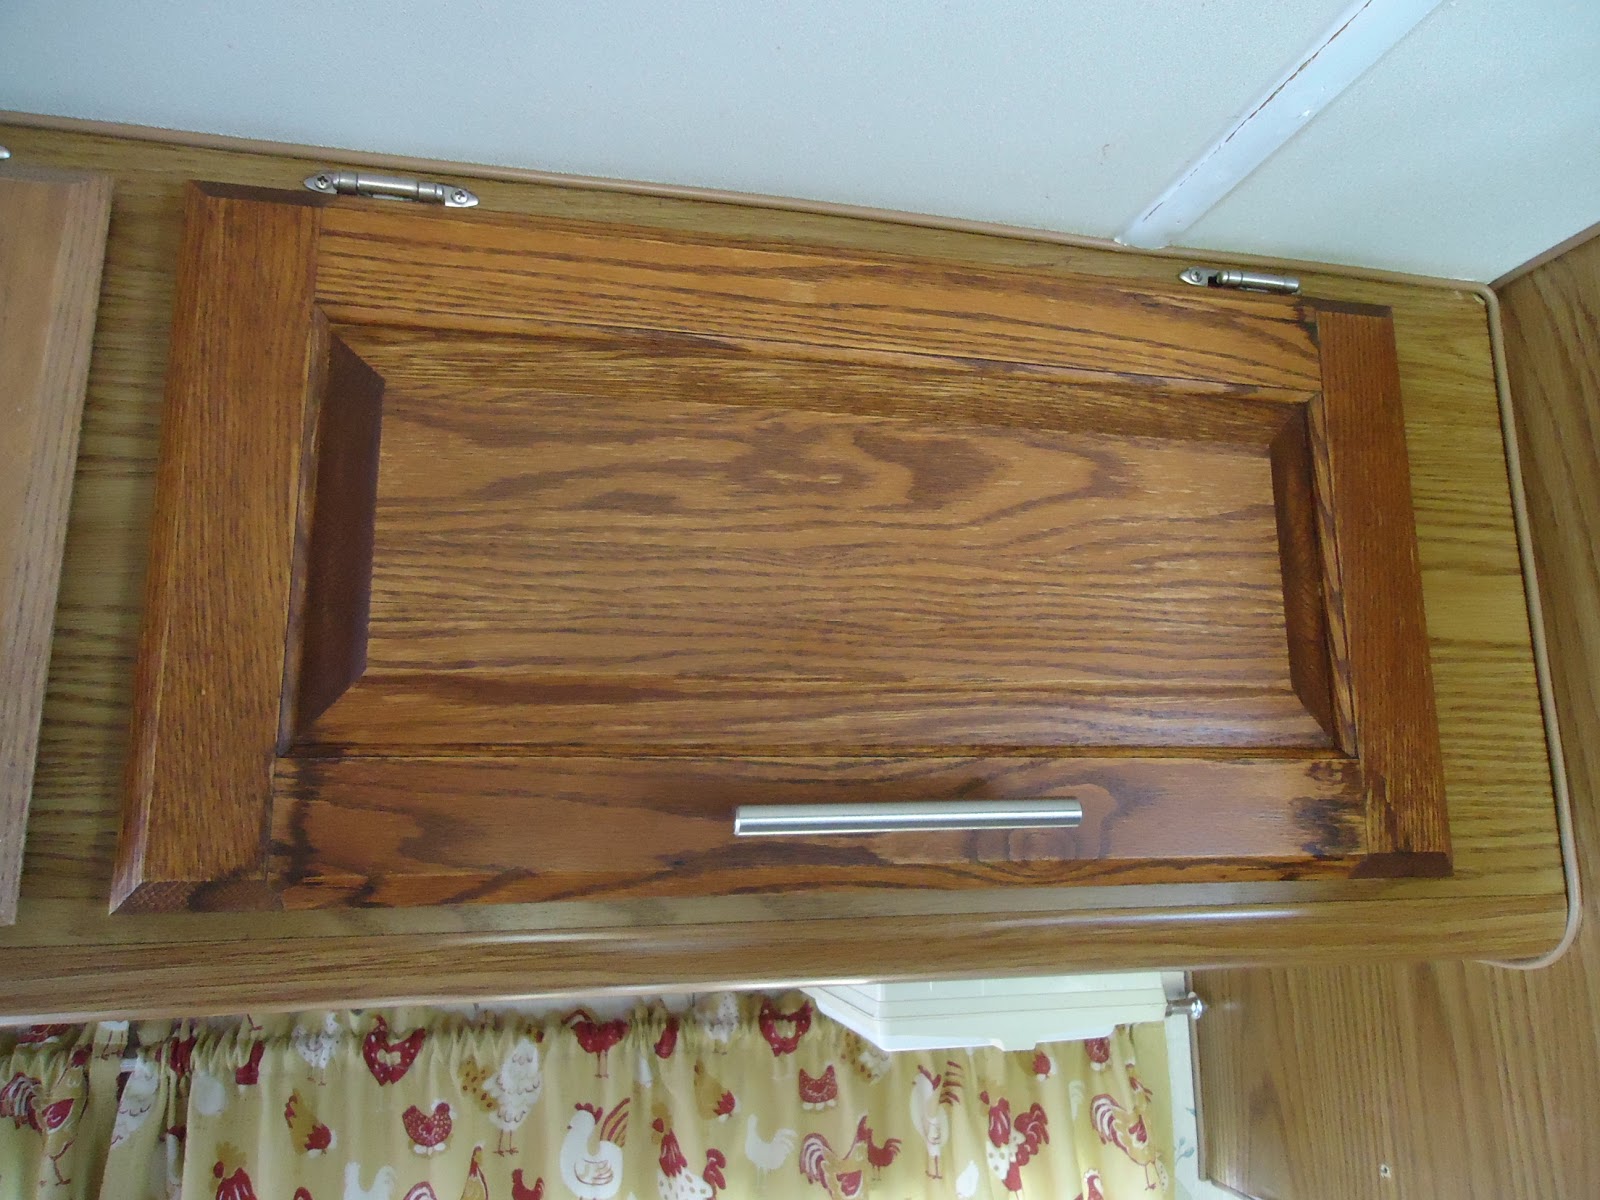
DeleteI like your curtains!
ReplyDeleteGlad you didn't put them in the chicken coop for the hens.
Jeannie
GetMeToTheCountry.Blogspot.com
They seem to be growing on me more and more. I like them too!
DeleteDon't you think chickens would prefer curtains with people on them? Hee, hee.