
I had found a free charcoal grill on Craigslist on Easter Sunday.
The girls and I jumped into the truck that morning and headed out to
load it up and drag it home. It was in
pretty decent shape for a free grill.
You sure couldn't beat the price and I knew a good cleaning and a nice
coat of high heat grill paint would make it look much better.

Later that same day I took a bag of miscellaneous leftover items back to Home Depot
and they gave me nearly $10 in store credit.
I used half of that to purchase a can of grill paint. A couple days
later I got to work.

First things first I took it apart so I could clean it up and get
an idea of what we were dealing with. I
removed the wood slats from the shelf brackets along with the handle.

I got out a couple grocery bags and removed the partial bag of
briquettes that came with it as the charcoal bag was in pretty rough shape.

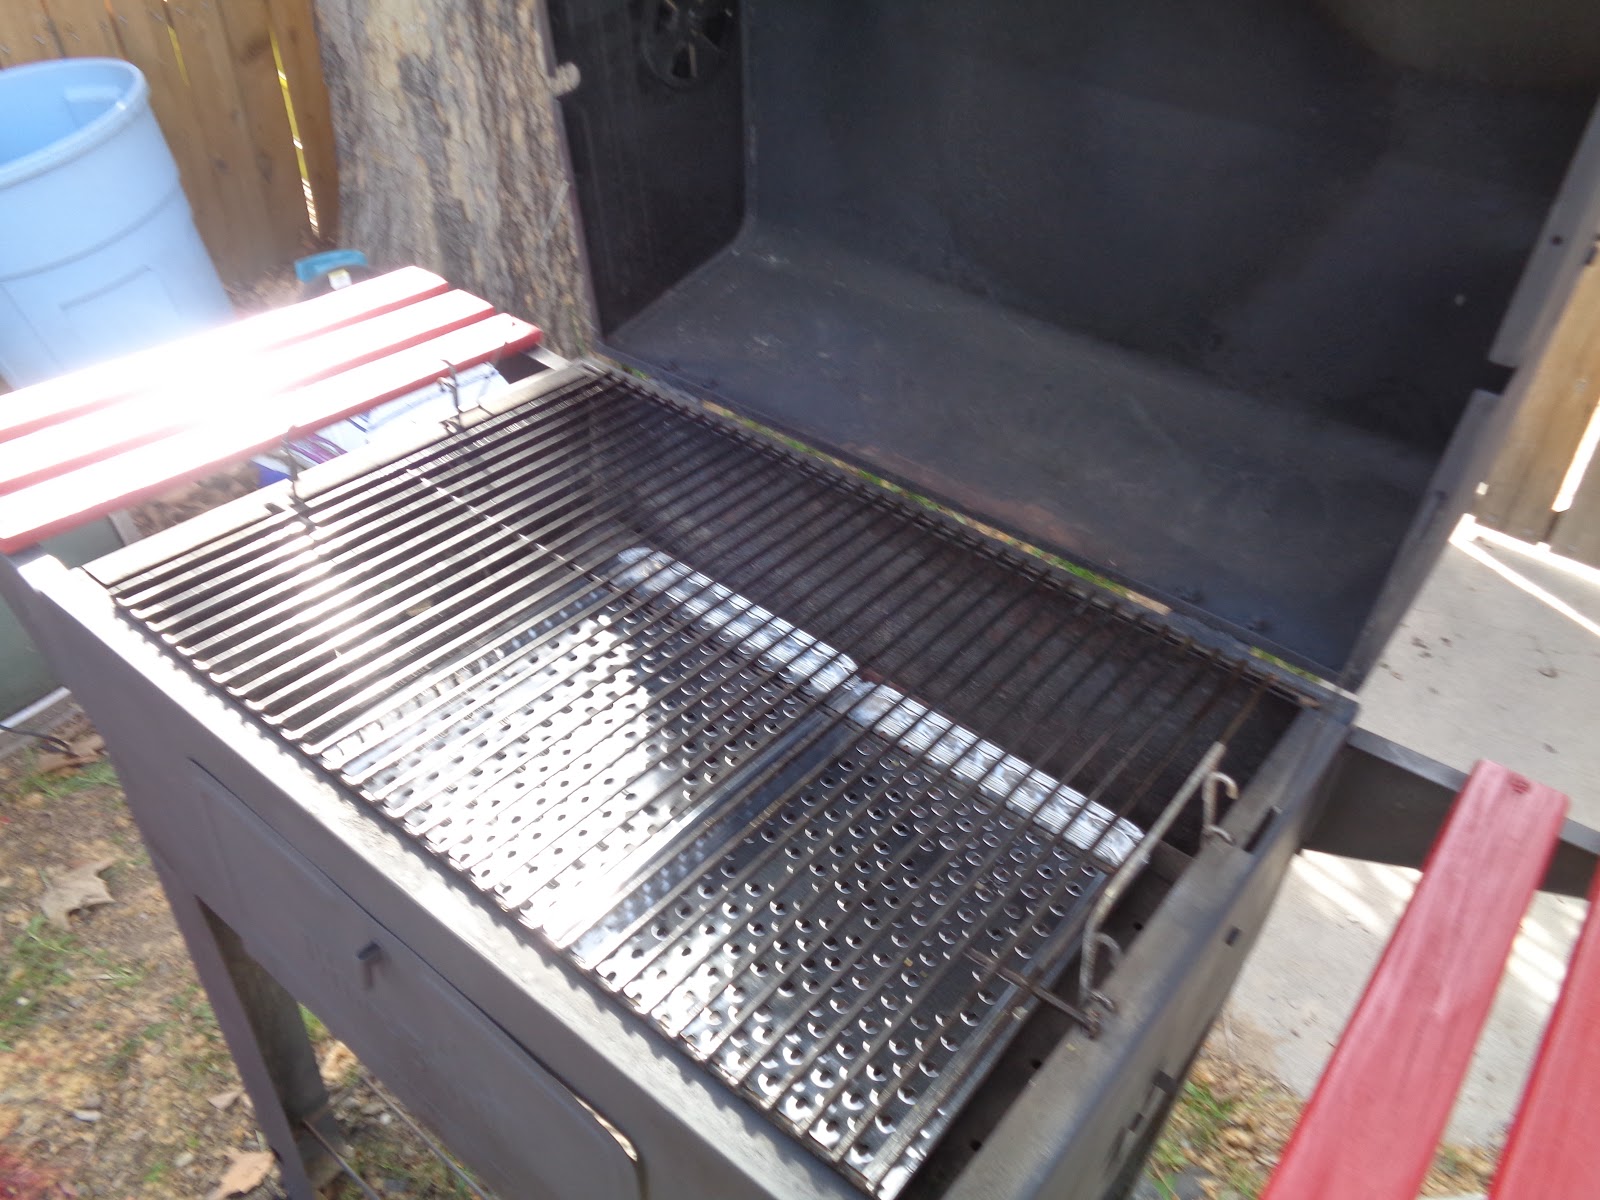
I removed the grill and the worn out charcoal tray, then used a
dustpan to remove all the ash in the bottom.
After that I used my 5 in 1 tool to scrape out the inside. Then swept it out and scooped up the last of
the debris.
 |
| Before |
 |
| After |
I did the same with the charcoal tray and there wasn't much left
of it by the time all was said and done.
A big hole is in the center where it had burned through from much use,
but the rest of the grill still has some life left in it.
 |
| Pretty pitiful |

I got a bucket of soapy water and washed the whole thing down. Then I taped off the heat gauge and proceeded
to give that grill two good coats of the black paint.
It was already looking a ton better.

Next I got busy sanding the wood shelf slats and the handle. Most of the paint flaked right off so it was
a fairly quick job and I only needed a quarter sheet of 80 grit sandpaper.

I have all kinds of spray paint in my garage and decided the best
color for the wood pieces was red! I gave all the wood two coats of Colonial Red paint and let it dry
really well.


I even did the hardware as it was mismatched and some of it was
rusty.

Then it was time to put things back together. Hands down the best part and most satisfying
part of the process.

I used some exterior Varathane to coat the shelves and the handle
once they were put back on.

I used some oven spray I'd picked up at Dollar Tree to clean
the grill which wasn't too dirty, much to my surprise. I scrubbed it up good, washed it with some
soapy water and rinsed it with a hose.

I picked up a few items for the grilling season ahead. These were all things that were on my list
for our little grill so not an unplanned purchase by any means so I'm not even
counting this as part of the cost to redo the grill.

But what I am going to include is the solution for the hole in the
charcoal tray. I laid three bricks I had in my backyard in
the bottom of the grill and placed two foil grill pans I picked up at Dollar
Tree on top of the tray. The bricks will
add support to the tray and the foil pans will hold the charcoal and allow for
airflow.
A replacement tray, if I could find one, would cost me more than I
feel I should spend. One that is too
small for this grill was listed for $39.95.
Both of the foil pans cost me $1.
A much more equitable solution I feel.

So what do you think?
 |
| My daughter was thrilled when she saw it |
Is this grill worthy enough for my daughter's graduation
party? We are going to give it a test
drive to make sure, but I do think it will be more than adequate for the
job! And with only $1 out of pocket to
refurbish it, how can you beat that?!
Great job!!! There may be hope for our old grill, after all!! We bought the replacement charcoal thing a couple years ago, so we def need to keep this one a bit longer. I can't wait for you girls to try it out!
ReplyDeleteThanks! I have to say it was a fun little project. :)
DeleteAmazing job! Never had a doubt you could do it! :)
ReplyDeleteThank you Brooke. I appreciate that. :0)
DeleteWow! you did an amazing job on your free charcoal grill. It is definitely worthy of your daughter's graduation party. You were pretty ingenious on this project.
ReplyDeleteThanks so much. I had a lot of fun working on it.
DeleteWow - so impressed! that looks incredible. You are super handy & frugal :-)
ReplyDeleteTurned out better than I thought it would. Thank you!
DeleteYou do have some mad skills!
ReplyDeleteHa! Thanks Anne. :^)
DeleteLooks great. We just got my mother in laws old BBQ when she sold her house. Still works great and I didn't have to put any $ out. Another thing you might want to keep your eyes open for is a broiler pan from an oven at yard sales or thrift stores in case you need to change out the grill pans for the charcoal. I know I always have one in every stove bottom just laying around taking up space. lol. Good job and I know the party will be wonderful.
ReplyDeleteThanks Crystal. Good idea about the broiler pan. I'll watch for one.
DeleteAwesome job!!! The grill looks great.
ReplyDeleteEnjoy, and many happy times, Janie
Thank you Janie. I'm getting excited for the party.
DeleteVery impressive!
ReplyDeleteThank you so much! :)
DeleteIt looks fantastic! You always manage to surprise me, though--and this time it's those fabulous touches of red! Such a fun accent color! Love it!
ReplyDeleteI thought the red would be fun too. Thanks Sue.
DeleteOoh--I have an idea! How about some little cup hooks screwed into the wood slats to hang your grill tools from?
ReplyDeleteHey! You may be onto something!
DeleteI think this whole project was very inspirational. To take a grill that was free and make it useful and attractive is just amazing. The red makes it look festive too! Good job! ...Lilly
ReplyDeleteThank you Lilly. I'm really happy with it.
DeleteYour stories remind me of the Boxcar Children and how they used things they found to furnish their boxcar. Very fun!! Jill
ReplyDeleteI loved that book. No wonder, huh?
DeleteWoohoo! WOW. You did a wonderful job! How exciting to see something old made new again. If that grill has a soul, it is overjoyed to be useful again.
ReplyDeleteThanks Meg! I think you might be right, Ha, ha!
Delete