It may seem a bit odd to some of you to begin a master bedroom
remodel with the closet, but for me it made perfect sense. For one, it was the area that needed the most
attention, and second, it would allow me to put a lot of stuff away so our house was much less of a disaster zone.
 |
| See where the paint line stops at the closet? Words escape me |
 |
Lots of scuffs and black marks on the shelves
That was a repeating theme throughout this closet |
I am embarrassed to tell you that this closet has never been
painted since the house was built back in 1979.
Not by me and not by the previous owner.
It seems that when we painted the master bedroom we both seemed to stop
at the closet. Sad, but true.
 |
| All cleared out and ready for paint |
 |
| Here is the closet organizer system in pieces |
Admittedly closets are a pain in the butt to paint. You have to empty them out and then work in a
very tight space. It seems to take
forever too. And let's face it. With a closet you just close the door! Right?
No one sees it. Well, that all
may be true, but still not a really good excuse for not taking better care of
this space.
 |
| Paint! |
 |
And more paint!
Covering up that 1970s tan |
I began by removing everything with the exception of the built in
linen shelves. They are particle board
and likely would've broken had I even tried that. Instead I left them in place with the idea
they would get a much needed coat of paint.
Which they did!
 |
| Amazing what a good coat of paint will do! |
 |
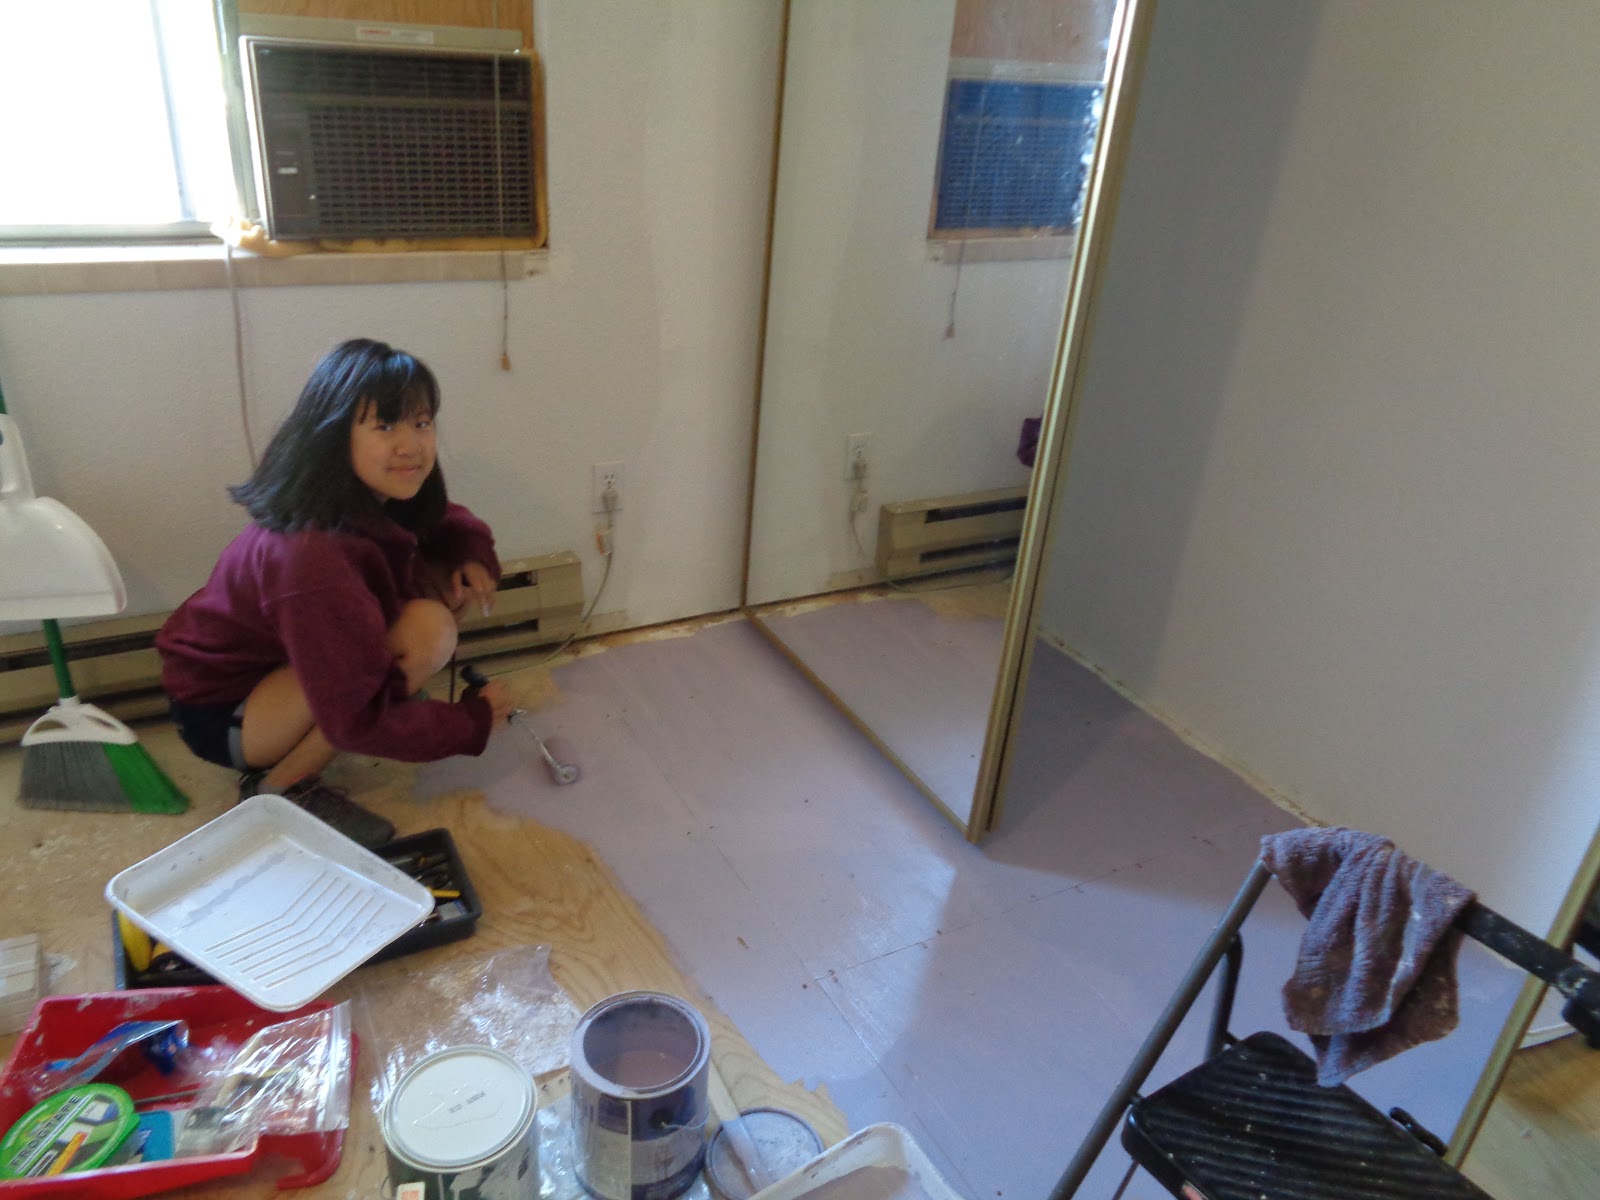
| My youngest painted the floor in preparation of carpet |
I vacuumed up a ton of cobwebs, because let's face it, teenagers
don't clean. They don't clean because
they don't see dirt. Had she realized
they were in there I'm sure she would've been adequately grossed out and would
have sucked them up the vacuum cleaner, but I'm fairly certain she was
oblivious to their existence.
 |
| Removing the closet system made for some pretty tight workspace |
With the closet organizer system I'd installed a good twenty years
ago removed and sitting in the middle of the bedroom floor I pulled up the
carpet and pad. Then I removed the tack
strip and all the staples on the floor before scraping it all with my handy
dandy 5 in 1 tool to remove the spackle splatters and joint compound globs left
behind by the construction crew. Lastly
I gave it a good sweep followed by the vacuum cleaner.
 |
| I reinstalled the closet track which we had to remove in order to take up the carpet |
 |
| New carpet in the linen closet! |
I filled loads of nail and screw holes in the walls of the closet
with joint compound and allowed it to dry overnight in preparation of paint. The next morning I sanded the drywall repairs
and I was ready to get started. I had
nearly a gallon of leftover paint in the garage from painting the stairwell and
our downstairs hallway so this was a
very good way to use it up.
 |
| Amazing transformation already! |
 |
| I was able to use up a boatload of leftover carpet scraps in here! |
It takes a lot more paint then you think it will when it comes to
closets. And with all the tight spaces
you are guaranteed to paint your elbows and get plenty of paint in your
hair. That being said it sure does look
good now! Clean, bright and fresh. I love it!
 |
Time to clean! A magic eraser easily took care of these black marks
No more wire hangers! |
 |
| Ew! This closet rod bracket was turning yellow |
 |
| After cleaning it I gave it a good coat of white spray paint |
With the carpet installed it was time to put the closet organizer
back in place, but not before it got a really good scrubbing with some soapy
water and a magic eraser. Twenty years
of use left behind plenty of black marks.
 |
I spent a solid two hours with a bucket of soapy water and a magic
eraser cleaning every square inch of this organizer and re-installing it |
 |
| It was totally worth it! |
My carpentry skills have much improved over the past twenty years
so this time the closet system went in smoothly and without much drama. I remember originally there being a lot of
swearing involved in this project.
Probably because I was lazy and didn't paint the closet first! LOL
 |
| Shelves and rods all in place |
I let the linen closet shelving dry for a good three days before I
began to put things away there. I really
didn't want to have things stick and pull away the paint so allowing the paint
to cure really well first is always a good idea.
 |
| No more black marks, cobwebs or dirt anywhere! |
My things are now put away and residing in the master bedroom
closet and I've relocated most of my daughter's things to the downstairs
bedroom closet which has given me back my laundry room and a good portion of
our upstairs hallway. Our linens are no
longer in the dining room and our extra toiletries and laundry supplies are now
off the bathroom floor.
 |
| I love it so much!! |
With the closet completed we now have ample space to continue on
with this master bedroom update project and get it completed. Oh you guys, I can hardly wait! It is really starting to look so good!


It looks amazing!!!!
ReplyDeleteThank you Brooke. I super happy with it.
DeleteLooking good! I always makeover my home's closets! It makes me feel good to know that even the closets are pretty!
ReplyDeleteTania
You make everything pretty. I'm always amazed at all the things you do. Even to a closet. :o)
DeleteWow! What a difference. You rock!! ;0)
ReplyDeleteThanks Pam. It turned out pretty nice, I think. :^)
DeleteThe paint sure brightened it up after you cleaned it. I agree that you should have started with the closet. It is its own little room. And, you can store things as you do the rest of the bedrooms. About the yellowed hanger thing, if plastic is yellowing, it is getting brittle. I would have replaced those. I just bought a package for less than $2. Of course, they may last forever but I could see them breaking if they were in my house.
ReplyDeleteCobwebs? I could have felt those...yikes.
Thank you!
DeleteVery nice! You're right the inside of closets rarely get painted. Definitely in part because they are such a pain to paint.
ReplyDeleteIt was a lot of work and I had paint all over myself by the time all was said and done. Oh my goodness!
DeleteWow, looks great!!!
ReplyDeleteJanie
Thank you Janie :o)
DeleteLooks wonderful! You and the girls always do such professionally looking work!
ReplyDeleteOh, thanks so much :^)
DeleteWow! your closet is nice! Great job!!
ReplyDeleteThanks so much. I am seriously enjoying this closet right now!
Delete