
Over the weekend
leading up to The 4th the girls and I did a project together that I have wanted
to do for quite some time. We made
stars.
We used wood from my
stash in the garage (trim I had gleaned from the "Free Wood" bin near
my work), some finish nails, adhesive and spray paint. Everything I already had so no trips to any
stores and no money out of pocket.
 |
| Ready for paint |
The first star we
made was one I wanted to make to put on the chicken coop. Plus it was a great way to show the girls how
to put these together. I cut five pieces
of flat trim, each 24" in length. I
laid them out and gave them a nice coating of paint. While the paint dried we worked on the girl's
stars.
 |
| They both learned how to safely use a compound miter saw! |

They were super easy
to put together. Since mine was going to
be outdoors I opted to use a little bit of construction adhesive in addition to
the nails, but the girls just used nails.
We positioned the wood pieces, predrilled the holes to eliminate
splitting and put them together tacking then at each corner.

Once that was done
we made sure everything was even and then added a couple additional nails in
the center pieces to keep anything from moving.
How easy is that?!
To make my star use
5 pieces of wood cut the same length (24") and 8 finish nails.
 |
| She used some fancy moulding |
To make my
youngest's smaller star use 5 pieces of wood cut the same length (10") and
8 finish nails.
 |
| Two toned in teal and brown |
To make my oldest's
use 10 pieces of wood cut the same length (10") and 20 finish nails (2 at
each corner).
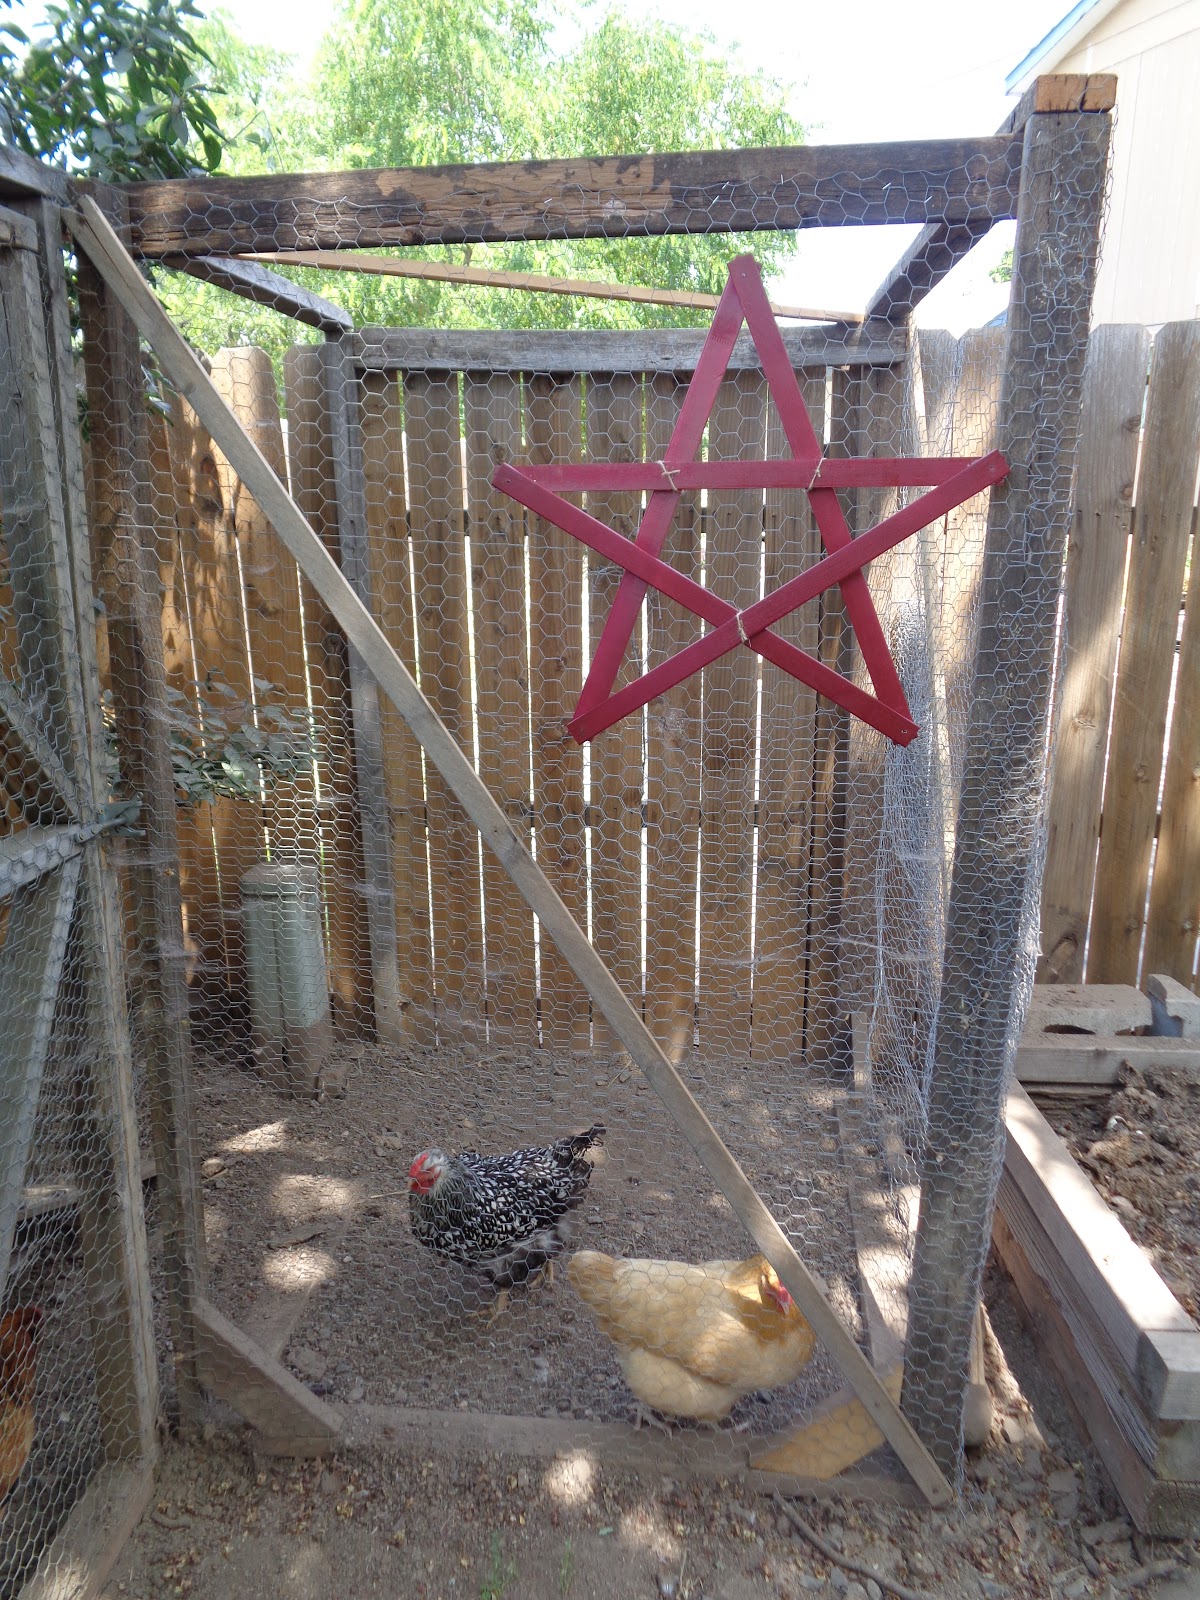
I hung mine on the new
addition of the coop. Both of the girls
picked a spot on the wall in their rooms to hang theirs. They both gave this project a thumbs up and
declared it a lot of fun.
You are such a fun Mom!
ReplyDeleteThank you Kelley! That is really nice of you to say. :)
DeleteI like your stars. I grew up in the Lone Star state and your stars would look right at home there too ❤️
ReplyDeleteThanks Rhonda! We had so much fun I think we'll be making some more.
DeleteI love the stars and especially love the decorated coop!
ReplyDeleteI have a lot of fun decor ideas in mind for the coop.
DeleteI love them, what a fun project to do with your girls too!
ReplyDeleteTanina
Thanks Tania! We had a great time. :)
DeleteGreat job to you and the girls! Your stars are so pretty and the girls are learning skills that they will use later in their lives too!
ReplyDeleteOh Debbie, we had so much fun. We picked up some more paint and we are going to make more of these. I think they'll be great as gifts. :)
Delete