Our
forty year old bathroom vanity was very much in need of a total makeover. Some would argue a total replacement, but I
could see some potential still left in her.
The vanity itself is still strong and sturdy. It just lacked some luster and was showing
the signs of daily wear and tear.
 |
| The finish was worn and these brass knobs had to go |
 |
| Too much crap! |
Although
the vanity was clean underneath, the wood had some staining and looked pretty
yucky. The bare wood is also difficult
to clean and keep clean so I opted to give it the same treatment I gave our kitchen sink cabinet. We cleared everything out and I got right to
work.
 |
| Removing the drawers, doors and hardware |
 |
Sorry this is so blurry, but you get the jist
Not sure what that stain is from, it has been here as long as we have |
All
of the drawer fronts and the cabinet doors were removed. After a light sanding I washed everything
inside and out. Once that was dry I taped
it all off along the walls and the countertop.
Then I used a sponge brush and some paint I had leftover from the downstairs bathroom vanity makeover
and gave it two good coats of paint. I
can't believe this paint sample was enough to completely paint both of our
vanities.
 |
| I can't believe how much this little sample of paint covered |
 |
| Vinyl peel & stick floor tiles for the base of the vanity |
 |
| First one in and already an improvement |
 |
This looks great!
The difference is like night & day |
The
inside of the vanity, other than the floor of it, was in really good
shape. I had already cleaned it so the
next thing to do was to use vinyl peel & stick floor tiles and cover the
bottom of the vanity. The ones I chose
matched the paint nicely and really made it look so much better under
there. Not to mention, it will be so
much easier to keep it clean as well.
 |
| Time to clean these out! |
 |
| All clean and ready for some Howard's |
 |
| The finish was pretty much nil here |
The
drawers were looking pretty ratty and the finish inside them was rather
worn. I scrubbed them clean and then
used some of my Howard's Restor-A-Finish
and a piece of fine steel wool to give them a once over. I wasn't sure if it would work, but it
did! I was able to put a nice finish
back onto the drawers, inside and out, and minimize the worn spots as
well. I'm extremely happy with how they
turned out.
 |
The one on the left is before
The one on the right is after! |
th |
Once again Howard's did not disappoint
These drawers turned out amazing |
With
everything nice and dry I added new knobs to the drawer fronts and reattached
them to the drawers. I added new knobs
to the cabinet doors as well. The hinges
got a bath and allowed to dry overnight before I got after them with some
Rustoleum Metallic Aluminum spray
paint.
 |
I splurged at Dollar tree on a roll of shelf liner
and a couple drawer organizers to keep things nice |
 |
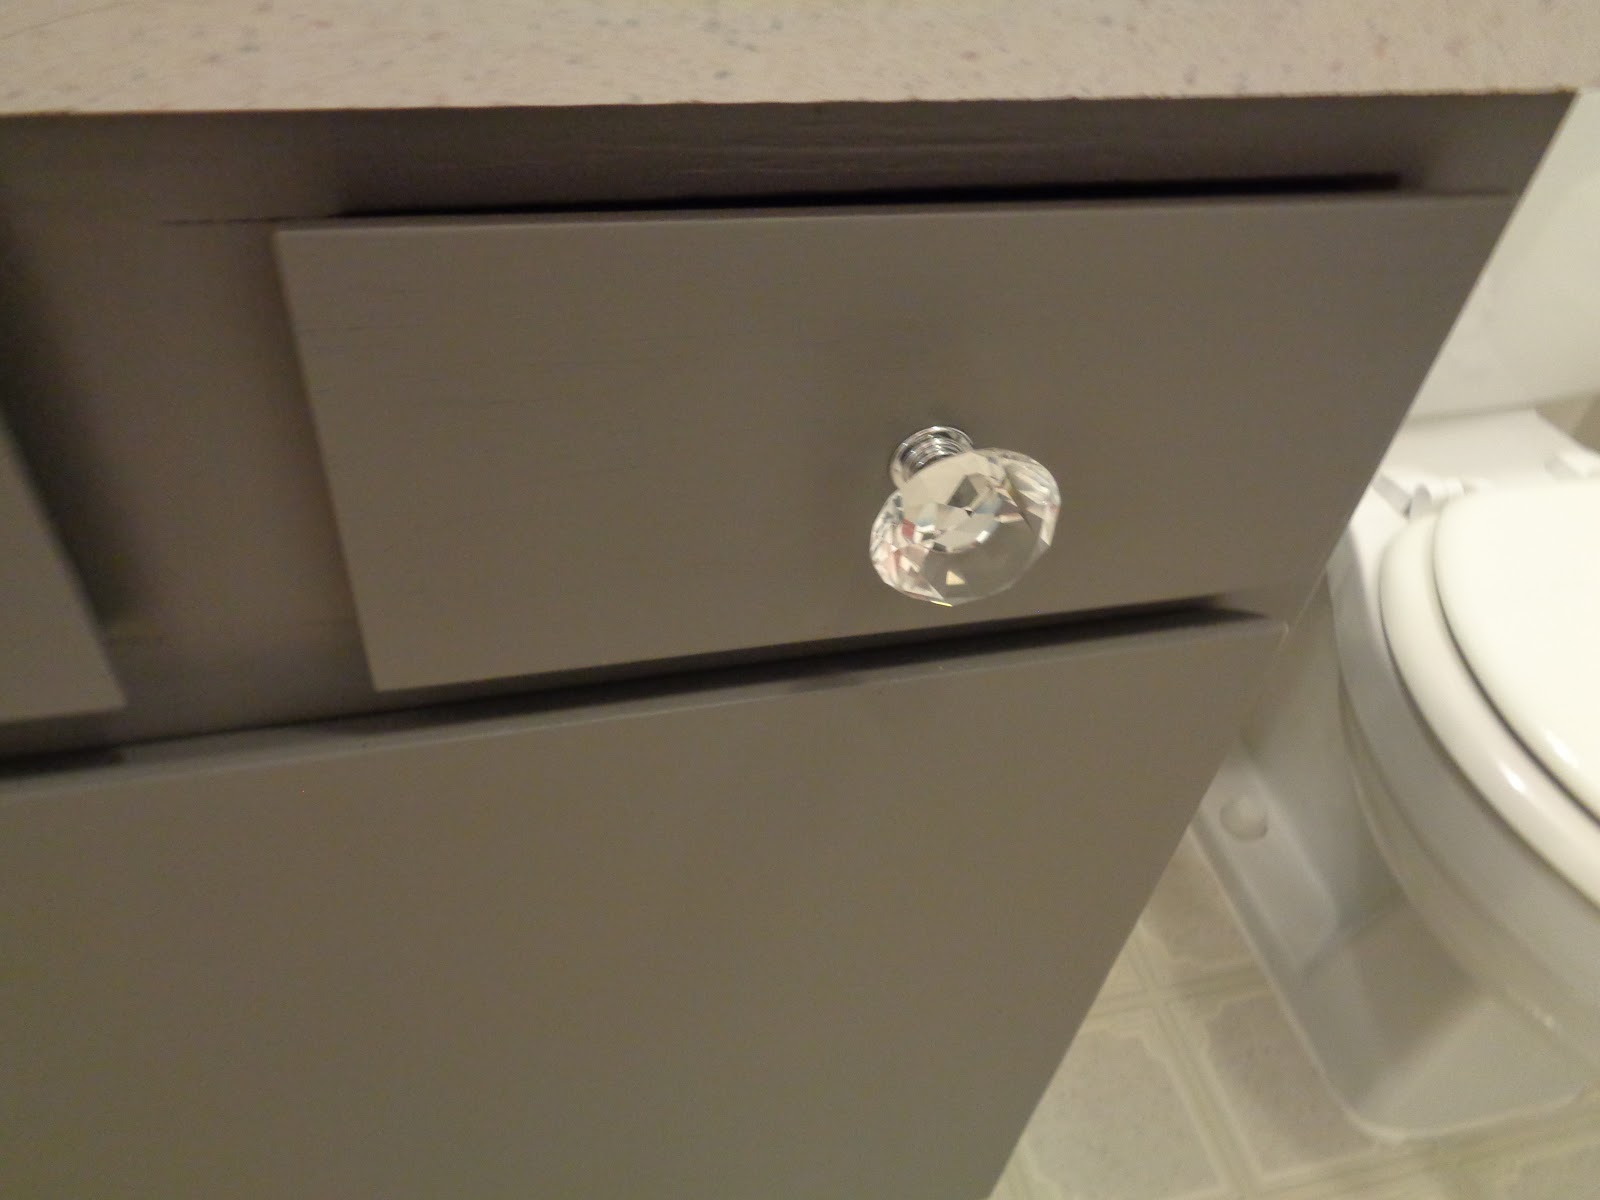
| New knobs! Love! |
I
didn't want to risk the drawers and cabinet doors sticking to the face frame of
the vanity so I allowed the paint to cure a good 48 hours before I reassembled
everything. Much as I wanted to hurry
and put it all back together and re-organize our things I patiently waited. Nothing is more upsetting then to work really
hard on something and then ruin it because you got impatient.
 |
| Doors back on with their "new" hinges |
Not
to worry though because while I was waiting for the paint on the vanity to cure
I was able to get other things done in there as well. Plenty of things to keep me busy. No need to just sit and watch paint dry!
 |
| Pretty! |
 |
| This mama is soooo happy with this makeover! |
 |
| Even the sides of the drawers are pretty with their new finish |
The
vanity looks amazing, if I do say so myself.
It matches the one in our downstairs bathroom so we have a nice cohesive
look going on. I'm excited to share the
rest of our bathroom renovations with you so be sure to check back. Those details and the big reveal are coming
up soon!


You did a fantastic job (again!!) Especially love the drawer liners!
ReplyDeleteThanks so much. Isn't that pretty liner? :o)
DeleteOoh, so pretty! Love the new color and those crystal knobs! I, too, have put nonstick tiles in the bottom of my old sink vanity, and it makes the space feel so much nicer! So easy to wipe clean, as well. And that shelf liner is a perfect touch. It doesn't have to cost a lot to have a pretty, well-functioning home!
ReplyDeleteThis was a great transformation for next to nothing. I'm just thrilled!
DeleteLooks great. love the glass knobs...so pretty.
ReplyDeleteEnjoy, Janie
I love these knobs too. Thank you Janie.
DeleteJust lovely!
ReplyDeleteThanks so much! :0)
Delete