My latest project to
do in the motorhome was to upgrade the upper bunk over the cab. I managed to get the majority of it done
before the weather changed so I thought I'd share with you what I have completed
so far. I plan to finish it up in the
spring.
All RVs leak and at
one time so did Laverne. Fortunately the
damage was relatively minor. The
previous two owners had repaired the roof and fixed those leaks, replaced the
ceiling and most of the damage those leaks had created. What remains is more hidden and superficial.
 |
| Narrow storage areas located on each side |
The upper bunk had
water damage in the front two corners, which is very common, and that is what I
needed to repair. None of the damage was
structural, but it needed to be addressed.
The cushions that formed the bed were 30 years old. The upholstery was starting to degrade as was
the foam inside. I removed the cushions
and the storage dividers at the head and foot of the bed and then I got to
work.
 |
| Passenger side |
 |
| Driver's side - where the most damage was |
Anytime you start a
project like this you worry that you will find more damage than you initially
expect, but not so this time. It was
actually less and while it looked bad once the demolition was completed it
really wasn't. I spend about an hour and
a half and got that part done and all cleaned up. All I needed was a screwdriver, my 5 in 1
tool (love that thing), a small trash can and the vacuum cleaner.
There was a small
hole in the wall where one of the curtain rods had been attached as well as
another spot that looked like someone had accidentally put their foot into
it. I patched the holes and caulked all
of the seams and screw holes. Then I
taped everything off, primed the walls and gave it two coats of the same paint (Beach
Sand) I used in the bathroom.
 |
Taped up and ready for paint
Notice my little patch on the right - cardboard, cardstock & Modge Podge |
 |
| Amazing how paint transforms! |
 |
| Looking good! |
Rather than replace
the cushions I decided to simply add some low pile carpet. I found exactly what I wanted in the
chocolate brown (my accent color) at Lowes and they were very happy to cut me a
5 foot piece off of a huge roll.
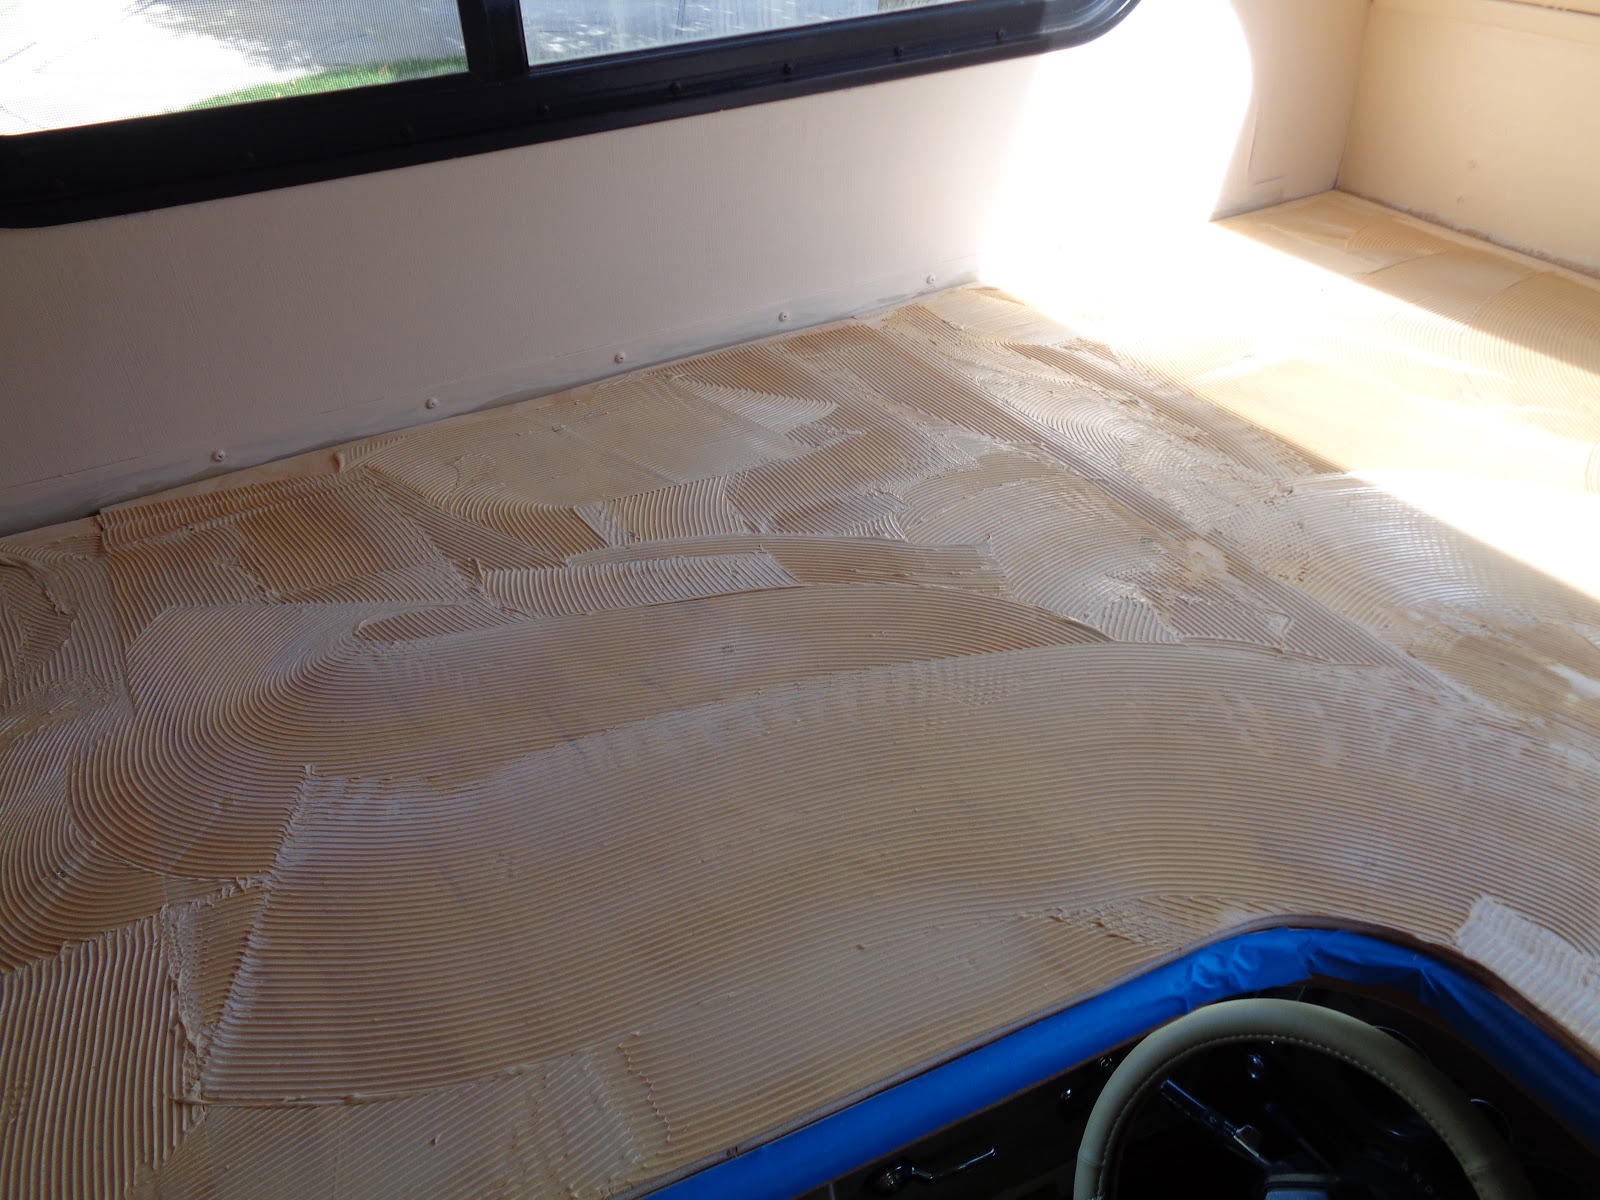
In the midst of this
project we had a few days of rain and cold weather but once that cleared and
the sun was out I was back to work. I used
a plastic trowel to spread out a small container of carpet glue and got that
carpet down. The glue needs at least 60°
in order to properly set so I was anxious to get it down. I used staples to reinforce the curved edge
so it won't peel up.
 |
| Nice, new and clean. Very happy with how it turned out. |
Come spring I plan
to add the sliding piece that will cover the curved area and support the bed. I'll add some nice trim pieces along the
edges of the carpet and I may even put a little chair rail across the front under
the window. New insulated window
coverings are also on the list. I want
to get a nice memory foam mattress to put up there and I'll add some storage as
well.
So still plenty left
to do, but once it is all done it will be a very nice and cozy place to sleep.


Wow, this all looks GREAT! You're making great progress on Laverne, she's probably feeling so much better! Isn't it fun working on her? I loved working on my trailer, Maizy!
ReplyDeleteTania
Thanks Tania. It is sooooooo much fun. I really enjoy it. Some day Maizy and Laverne will have to meet! :0)
DeleteIt looks like you didn't have to remove any of the damaged wood - why is that? How does it work to just overlay good wood on top? I'm not a DIY-er and have never done a project like Laverne. Thanks!
ReplyDelete-Molly
Hi Molly. Look at the pictures again. I did remove the damaged wood first and patched it before I did the overlay. You wouldn't want to just cover it up. I was fortunate in that the damage didn't go into anything structural or else it would have been a much bigger job.
DeleteThat makes much more sense! Thanks.
Delete- Molly
Oh good. I tried to explain it as best I could, but sometimes I don't make total sense. Have a great weekend!
DeleteLaverne looks great! How is it that whenever you do a DIY job it looks professional? I guess it takes patience and focus - things I need to work on ;) I would love to go on a road trip in Laverne!
ReplyDeleteD.
Thank you. Patience is definitely the key here. I really put a lot of thought into it, did a ton of research and took my time. I didn't used to be so patient and my results didn't always turn out like I expected. I'm getting better with age, ha, ha!
DeleteGreat work!
ReplyDeleteThank Melissa! :)
DeleteYou amaze me. There is no project you don't tackle and do a fabulous job. Kudo's!
ReplyDeleteThank you Anne! I love to do stuff like this.
DeleteYou do beautiful work. So talented.
ReplyDeleteThank you very much.
DeleteGreat job.. Laverne is looking better and better..
ReplyDeleteThanks Judy. I really enjoy having her to work on.
DeleteLaverne looks great. Looks so nice and neat!!
ReplyDeleteEnjoy, Janie
Thank you Janie. She is really coming along. :)
DeleteI will suggest a piece of Reflectix in the useless window {front} to keep the sun out, keep it cooler, & warmer. Since we don't open the side windows, I put it there too. Then hung insulated curtains. We have a Fantastic fan in our above cab area & that makes a world of difference. Enjoy...
ReplyDeleteI know some people do not like that window, but I really do, especially if I've got a great view. Nothing like waking up to see the beauty of nature in my opinion. They can get cold at night and I do have a plan for that. Thank you for the suggestions.
DeleteThis was so inspiring. The pictures and details show how anyone, even me, could do a repair job like that. I am now encouraged to try and fix a broken stair banister rail. At present a quilt is nicely draped over the splintered rail but I think I can fix it now. I will try!
ReplyDeleteThanks.
Jeannie @ GetMeToTheCountry
Fantastic Jeanne! You definitely can do it! Let me know how it turns out.
DeleteI was watching TinyHouse Prepper on you tube and they had a solution for water leaks in RVs. Worth a watch! You are awesome and have great girls!
ReplyDeleteI follow Tiny House Prepper too! Love them! :)
Delete