Our dining room got
a BIG facelift and I am IN LOVE with this room.
I've wanted to do this for years and years and finally I got it done. I am
absolutely thrilled with how it turned out. Before it was pretty
Plain Jane with basic white walls. Over
the years I'd added trim to the ceilings, around the doorway and replaced what
was along the floor. It has had a few
paint jobs as well. About ten years ago
I put in the china cabinet and some trim around the window.
 |
| I picked up a new baseboard heater to replace the forty year old one |
 |
| I removed the old heater and no surprise the wall was disgusting behind it |
 |
| First wall where I put up the bead board wallpaper |
 |
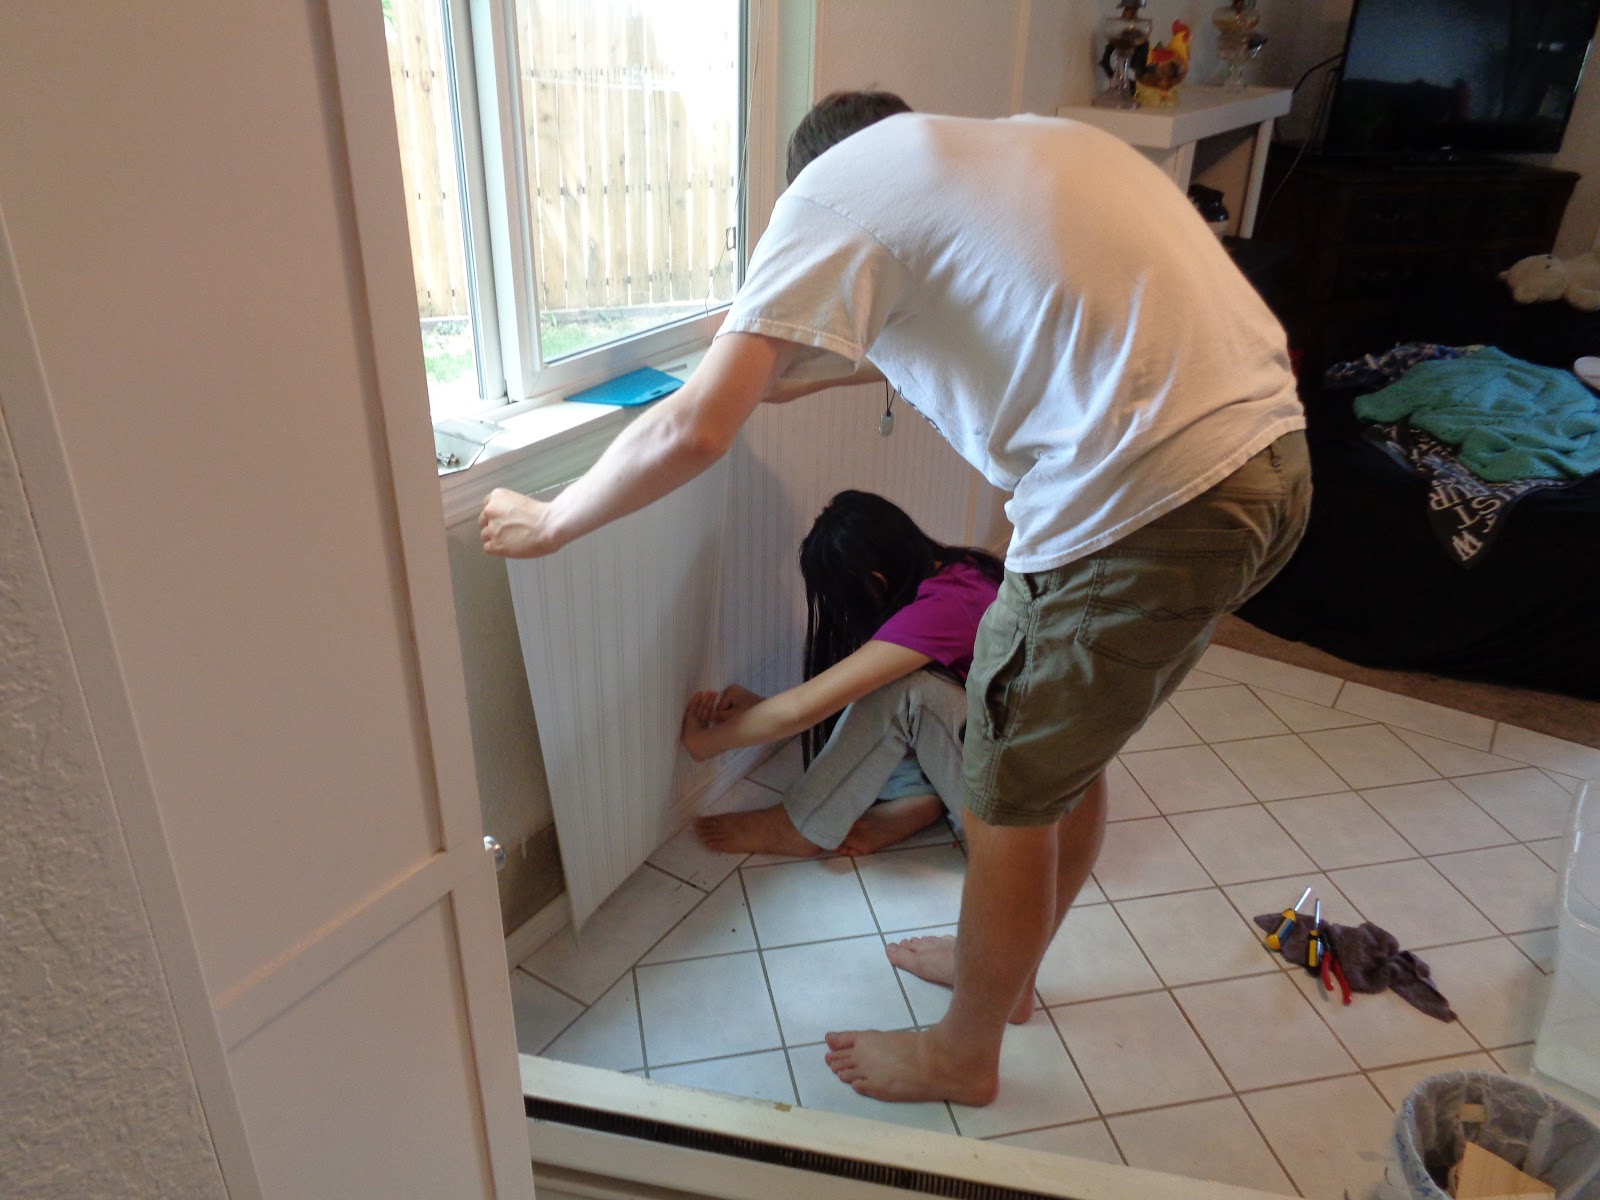
| I had helpers! |
 |
| Chair rail added |
Last week during my
"staycation" I was able to update the dining room. I used paintable bead board wallpaper
leftover from my entryway project to add wainscoting to the dining room
walls. The chair rail was added to the
top and cost me nothing because I'd pulled it out of the FREE WOOD bin near
where I work last summer with the idea that I'd use it for some project later
down the road.
 |
| Trim above the window |
I also finished the
window trim, don't even ask me why I hadn't done that sooner than now, I have
no excuses. I also added this decorative
wood piece I had rattling around in the garage. After caulking and
priming the new chair rail and caulking around the window trim it was ready for
paint.
 |
| The old ceiling fan comes down |
 |
| More grossness |
 |
| Painting trim and the ceiling |
 |
| Checking out the new paint color - nice! |
I painted the
wainscoting and all of the trim with Pure
White by Behr and then had to wait for three days for all of the paint to
dry and cure enough to tape it off. That
was tough, because I really wanted to finish painting those walls, but I knew
that if I rushed it I'd be sorry.
 |
| Taped off and ready for paint |
 |
| Oh mama! |
 |
| Now that's what I'm talking about |
Finally I got to
tape off the trim and paint the upper section of the walls with a beautiful
shade of gray called High Speed Access
also by Behr. And wow did that pop
against the white! So pretty!!
 |
| Now the details of the trim really stands out |
I carefully touched
up any spots with an artist brush along the trim and corners for a clean
finish. Yes, I'm that ridiculously anal
retentive. But if it isn't perfect it
will drive me nuts. I even took the old
tan 1970s phone jack cover outside and gave it a shot of my favorite metallic
spray paint to spruce it up. While it
dried I started putting the room back together.
 |
| The old heater had been painted over by previous owner and it was in rough shape |
 |
| So much better! |
The youngest and I
replaced the old baseboard heater with a new one that is clean, white (not
covered in a zillion coats of paint) and much more energy efficient. This is the last one that I needed to replace
too. The new ones don't streak the walls
like the old ones do.
 |
| Wowza! |
I washed the switch
plates and put them on the wall along with the freshly painted phone jack
cover. I put the mini blind back up on
the window and the table and chairs back in place. Surprisingly we were only without our dining
room for five days. I think that was a
pretty good turnaround.
I still need to pick
out the perfect dining room light fixture and I have a few ideas in mind, but
in the meantime on to the next project!


This looks wonderful, and so fresh! Great job, and I adore the color choice. There's something so calming to me about gray. :)
ReplyDeleteIt is really soothing. Thanks Stephanie!
DeleteLooks gorgeous! It really does pay to plan out your vision ahead of time to not only do it frugal, but a more realistic amount of time it takes!
ReplyDeleteThank you Diana. You are so right!
DeleteLooks great! I love seeing how inexpensively you fix your home up and how upscale everything looks! ColoradoGirl
ReplyDeleteThank you so much. It is amazing what all you can do with just a little bit of $$.
DeleteLooks great!! :)
ReplyDeleteThanks Ruth! I love it!
DeleteI think your dining room renovation looks great! I am always impressed with what a do-it-your-self person you are and that you are passing on to your daughters those same thrifty ways and do-it-yourself skills!
ReplyDeleteThank you. I love to do this kind of stuff and I am really enjoying doing it with my girls.
DeleteWhat a beautiful difference!
ReplyDeleteThank you Anne. :)
DeleteOooh, it looks great! That grey is so pretty!
ReplyDeleteThanks Tania! I am so I happy with the grey. :)
DeleteWOW!!!!!!!!
ReplyDeleteJeannie@GetMeToTheCountry
Didn't it turn out nice?! :)
DeleteIt sure did turn out great!
DeleteI'm absolutely in love with it! :) :) <3
DeleteIt looks SO good!!! Beautiful! Avery told me all about it. Fun to see the finished product. Congratulations!
ReplyDeleteHe's a great helper. :)
DeleteI love it! You all did a fantastic job!
ReplyDeleteThanks Debbie. I love it too!!! :) :)
DeleteIt looks great. I love the bullseye corner door trim. I have that, too. I use an artist brush to correct little mistakes, too. It would drive me nuts, too. It looks so shoddy that way.
ReplyDeleteYou and I agree! If it doesn't look clean and crisp along the edges it makes me crazy. Just add it to the list of many things.... LOL
DeleteWow.. this is beautiful.. Could you tell me where you got the wall paper.. I have never seen this before/ Would love to do some in my kitchen..[And it is paintable? ..wow..]
ReplyDeletelove reading your blog and see the wonderful projects you and the girls do.. Best wishes.
Thank you Judy. I found the wallpaper on Amazon. Bead board wallpaper it so easy to work with and it looks great.
DeleteThank you .. I will go to amazon, and see if they still have it.. Really want to do it in my kitchen.. Did it take the paint well??
DeleteVery well. It is designed to be painted. Hope you like it!
Delete