
A couple
weeks ago I picked up this cute little night stand at our neighbor's yard
sale. It had the look I wanted and was
made of sturdy hardwood. It was also
covered in a thick layer of white paint with a lot of brush marks throughout and
had been distressed. I know the distressed look is really in right now, but I'm not a huge fan so I was anxious to
give it a facelift right from the get go.


I had hoped
all it would need was a good sanding but it wasn’t to be. Upon further inspection I realized beneath
the paint was some water damage to the drawer bottom and the back of
nightstand. Both were warped and damaged
beyond repair. I would need to replace
both.

The heat
from sanding was causing the original finish to bubble up through the paint
making a bigger mess. At this point one
might reconsider whether or not to continue on, but this piece had great bones
and all wood furniture has value, at least to me. I really wanted to bring it back to life.

Only one
thing to do at this point. Strip it.

I happened to
have a nearly full can of furniture stripper in the garage. I'd had it for years and was thrilled to find
it was still good. I spent a good two
hours coating the entire piece by sections and scraping off the thick layer of
paint and the original finish as well.

Once that
was done I used a soft bristled brush and the hose to completely rinse the piece. Then I let it dry while I headed off to Home
Depot for a piece of luan plywood to replace the drawer bottom and the back
piece.

The idea, originally, was to spend as little as possible on this project. The wood was an unexpected expense, however I
was able to defray most of the cost by returning something I had bought for
another project and did not need. I asked for
store credit knowing I was going to turn right around and make another
purchase. I ended up spending less than
a $1.50 on the plywood.

Once home it was time to sand and sand and sand. Then the youngest and I used my jigsaw to cut the new piece for the drawer. I slid it inside and tacked it with a single
little finish nail. Then we cut the
piece for the back, sanding the edges smooth and dry fitting it.

It was too
hot outside to paint so we moved the project indoors. I had purchased a paint sample earlier in the
week at Home Depot along with a couple sponge brushes. The paint has primer in it.

When I originally
bought the night stand I had every intention of painting it white again. But Tania over at Little Vintage Cottage
inspired me to try a color with this post. I settled on
Blue Essex by Behr.
The girls
were so fascinated when the gentleman at Home Depot mixed my paint. He had them come behind the counter and
showed them how the machine works, showed them all the tints inside and how it
worked. I was really impressed with
that.

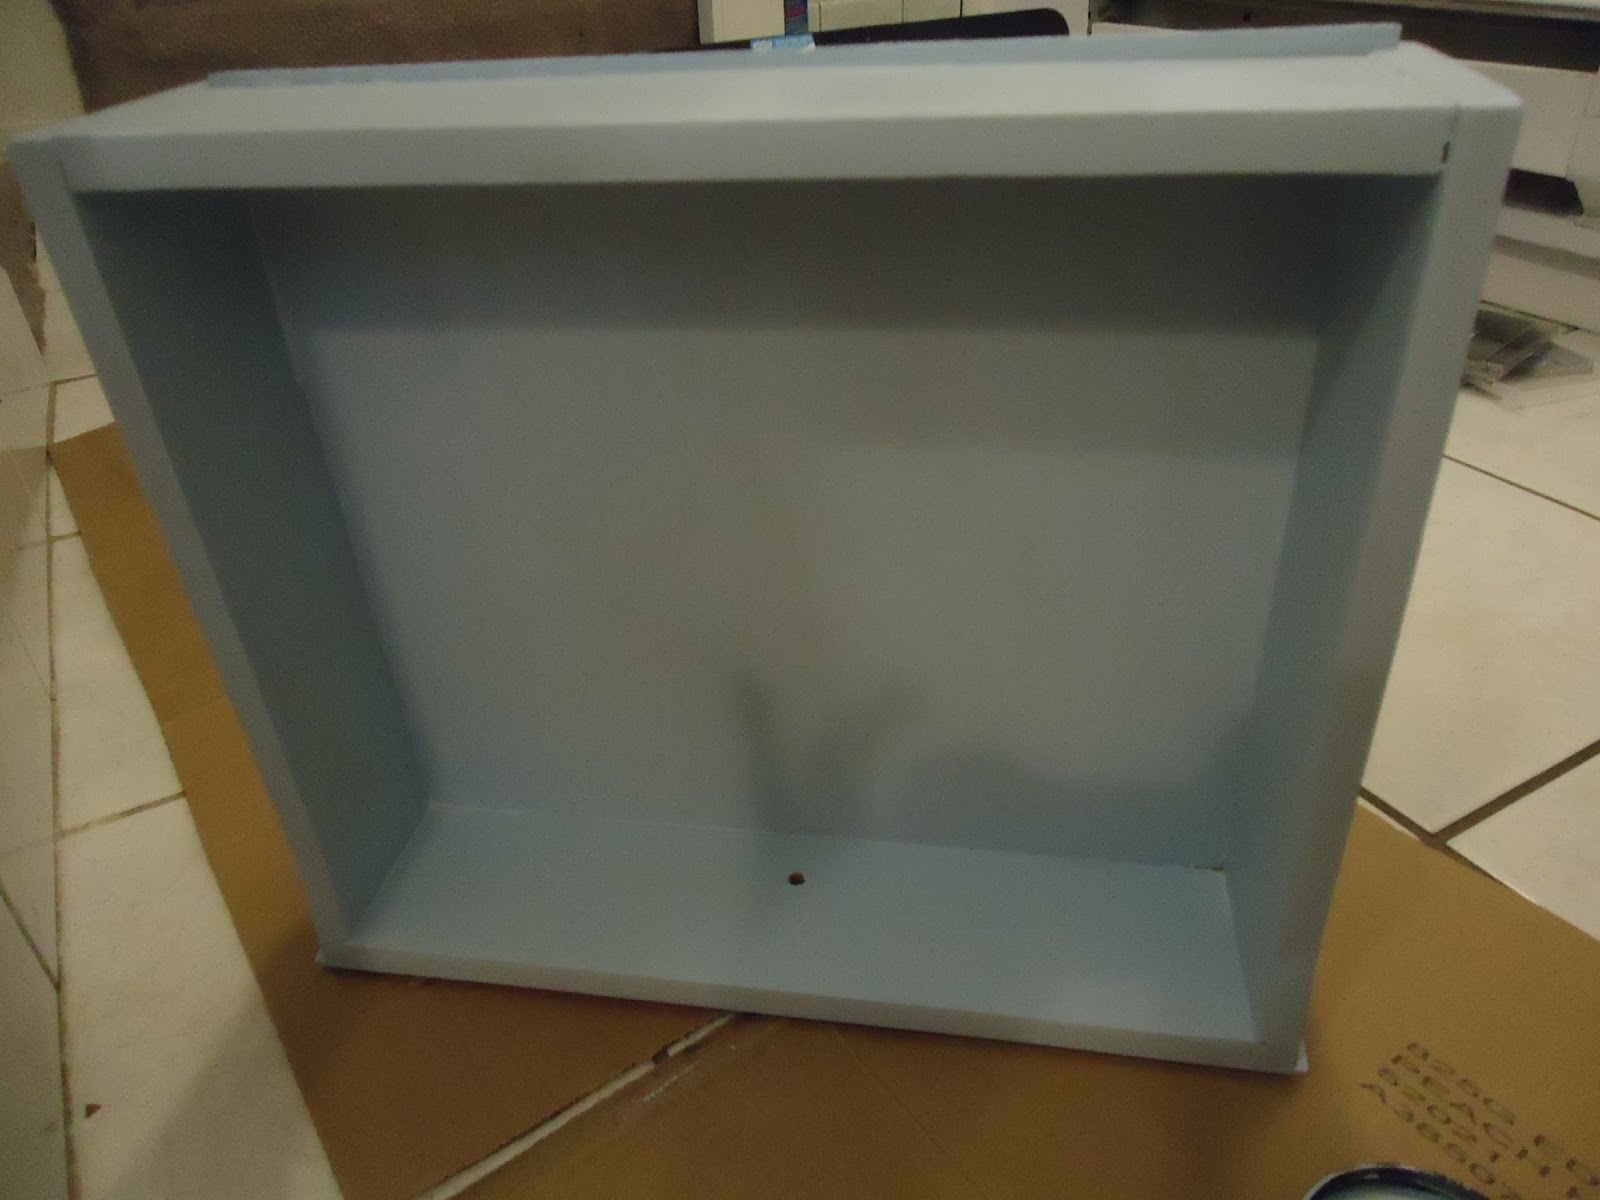
The paint
sample was the perfect amount to give it two good coats all over. I painted the stand and then the drawer. I loved it instantly. I didn't
want a baby blue nursery color and I was very pleased with the color I
chose. It doesn't look like a baby's
color at all. Much more adult and sophisticated.


I painted the interior side of the back piece and once it was dry I tacked it into place with a couple finish nails. Then I painted the back of the night stand and it was all finished.

Final
touches, once the paint had dried, included this pretty knob. I had bought a bunch of these from Amazon
when I redid the vanity in my bathroom.
I just love these knobs and I think it works perfectly on this night
stand.

While I love
the idea of shelf liner I don't happen to love shelf liner itself. I find it hard to work with and it usually
doesn't stay in place like I want it to.
It also tends to curl at the edges.
So instead I made this drawer liner out of a piece of pink gingham I had
in my fabric stash. I trimmed it with
some sweet little flower trim too. Love
it!


It was a lot
of work, a lot more than I originally bargained for, but I am thrilled with how
it turned out. Better than I had hoped,
actually. It was super fun too!
 |
| Before |
 |
| After |
 |
| Before |
 |
| After |
Total spent = $10.00 for the night stand, $3.27 paint, 69¢ for a sponge brush, $1.41 for luan plywood. Grand total = $15.37! Not too shabby.
Now I am excited to find my next piece to breathe new life into.
Amazing.... You did a fantastic job.. Love the color you chose too.
ReplyDeleteThank you, I love it too!
Deletelove it
ReplyDeleteThanks! :)
DeleteYour nightstand turned out beautifully! You sure are a handy lady!
ReplyDeleteThanks so much!
DeleteVery nice looking! Who gets the cute little stand?
ReplyDeleteIt's mine. :)
DeleteReally nice!
ReplyDeleteThank you. Fun project to work on.
DeleteI love it too Jess. :)
ReplyDeleteOh! It turned out so great!! I'm so glad you are inspired by some of my projects, that makes me smile!!
ReplyDeleteTania
Isn't it cute? I am thrilled. Thanks for the inspiration. :)
Delete